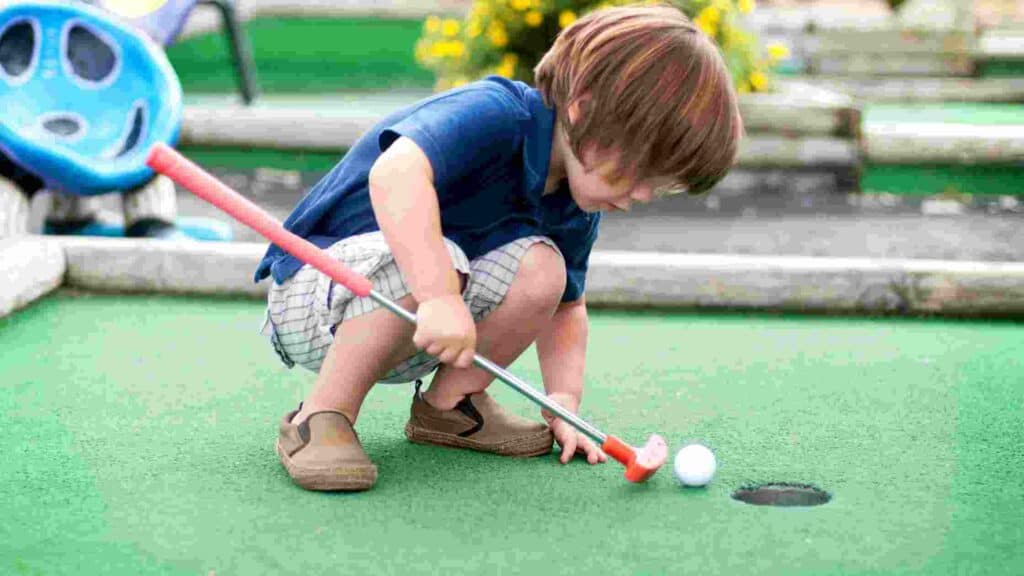
So, you’re looking to up your golf game, but those trips to the country club or local driving range aren’t always feasible. The solution? Building your very own backyard putting green, right in the comfort and privacy of your own outdoor oasis. The big question is: how to make a backyard putting green?
Well, fear not, because we’re about to take you through the entire process, step by step. Imagine the strokes you could shave off your game with daily putting practice, right in your backyard!
Sure, you could attempt some makeshift putting on the living room carpet or in your office, but if you’re serious about improving, you need the real deal – an authentic putting green.
How To Make A Backyard Putting Green
1. Selecting The Perfect Location
Before you dive into anything else, the crucial first step is choosing the ideal location for your putting green. After all, you can’t plan the rest without knowing where it will go. Here are some key factors to consider:
Sunlight Exposure: If you plan on using natural grass, sunlight is a critical factor. Artificial turf is more forgiving in this regard, but for a real, green feel, consider how much sunlight the area gets.
Surface Characteristics: Pay close attention to the ground’s slope, smoothness, and absorbency. A relatively flat area with no more than a 2 percent slope is ideal.
Size Matters: While we often go big in America, perspective is key. Golf course greens are massive, but your backyard version doesn’t have to be.
However, keep in mind that a smaller green may limit your ability to practice long putts.
Accessibility: Think about how your putting green might obstruct part of your yard or affect property access. Ideally, it should be placed in a corner with partial shade to keep you cool on hot days.
Extras for Large Yards: If you have a spacious yard, consider creating spots for practicing with short irons and wedges.
This allows you to work on your short game alongside putting. Building a full-length hole is an option for larger spaces but comes with more expense and maintenance.
Planning Is Key: Before you start digging, outline the area using lawn-safe marking paint or chalk.
This visual helps you get a better perspective, especially if you’re building near property boundaries where hedges and fences can make your green feel cramped if too close (here’s what to plant along fence line).
2. Picking The Material
Now that you’ve pinpointed the perfect location for your putting green, it’s time to tackle the next crucial decision: the material.
Will you go with the convenience of artificial turf or opt for real grass? Each option has its pros and cons, so let’s dive into the details.
Putting Green Turf
From a purely aesthetic standpoint, it’s hard to argue with the allure of natural grass. There’s something inherently beautiful about a real, lush green. However, before you go all-in, consider these factors:
Maintenance Demands: Real grass greens are a sight to behold, but they come with a substantial maintenance workload. Be prepared to invest both time and money in keeping them pristine.
Mowing Matters: Achieving the perfect putting green height requires precision.
You’ll need to trim the grass to an eighth of an inch or less – think about the thickness of 2 stacked quarters. This calls for a specialized reel mower, an investment that can reach into the thousands of dollars.
Precision Cutting: Unlike standard rotary lawnmowers, which use a single rotating blade, reel mowers employ a pair of blades that work like scissors, ensuring low-level, precise cutting.
However, this means even minor irregularities in your green’s surface can pose challenges. To maintain that flawless look, you’ll need constant attention with a lawn roller.
Maintenance Regimen: Your reel mower won’t run on autopilot. Calibrating the rollers before each mow is essential, demanding the use of dial calipers for pinpoint adjustments.
Plus, you’ll need to keep those blades razor-sharp – and we’re talking about 10 to 15 separate blades, along with a bed knife. Special grinders are a must.
Fringe Focus: Don’t forget the fringe – the transition area between the green and the rough.
While it can be managed with the lowest setting on a standard push mower, it might not resemble the perfectly manicured fringe you see on professional golf courses.
Additional Maintenance: Beyond the basics, daily watering is a must, ideally in the early morning before the sun gets too hot. Crabgrass and weeds are constant adversaries, requiring weekly scrutiny and swift removal.
Choosing natural grass can provide that authentic golfing experience right in your backyard, but it comes with a demanding upkeep schedule.
If you’re up for the challenge, the rewards can be lush, green, and oh-so-satisfying. However, if you’re seeking a lower-maintenance alternative, artificial turf might be your ace in the hole.
Artificial Putting Green: Low-Maintenance Golfing
For those seeking golfing without the hassle, artificial greens offer a near-effortless solution. They demand almost zero maintenance, remaining unfazed even during watering bans.
Forget about weeding; a simple leaf blower will whisk away any stray debris that dares to land on your green (be sure to check out our comparison guide on Toro vs Black and Decker blower).
The sole annual chore you’ll encounter with synthetic turf is a check on the edges to ensure all ground spikes are securely anchored and haven’t rusted over. It’s a small price to pay for the convenience they provide.
However, quality artificial turf can be a substantial investment, and it’s worth every penny (check out the best artificial grass).
Beware of cheap outdoor/ indoor carpets that not only perform poorly but also scream “fake” even to those with less-than-perfect eyesight.
Invest in top-notch turf, and you’ll enjoy a long-lasting putting green that remains a practice haven for years to come.
One of the most significant advantages of artificial greens is their adaptability to any climate. Whether you reside in a chilly region or a desert, your green will stay, well, green.
3. Grading And Landscaping

With your material choice sorted, it’s time to get your hands dirty. The first installation step involves grading your putting green and ensuring efficient water drainage.
Here’s how to do it:
Say Goodbye To Existing Grass: Start by removing any existing grass. A sod cutter is a handy tool, but if you’re feeling industrious, a shovel can do the job with a bit of elbow grease.
Fringe Considerations: Don’t neglect the fringe; allocate at least 12 inches, or go up to 24 inches for a broader fringe.
This area is not just for looks; it accommodates a retaining wall, essential for proper grading, drainage, and erosion prevention.
Digging Deep: To establish a gravel base, dig down about 18 inches. A mini excavator can save time and effort, but a shovel can do the job too.
Ensure a flat and level bottom for your form, using a tamper and a long level (preferably 4 feet or longer).
Building the Retaining Wall: Construct a retaining wall around the edges using capstones and landscaping blocks. Choose a style that blends with your landscape’s aesthetic.
Weed Protection: To ward off weeds (check out how to fix a lawn full of weeds), a porous landscaping cloth is crucial, not a plastic liner. This allows water to drain while keeping unwanted growth at bay.
Drainage Base: Lay down a 6-inch layer of ¾-inch gravel for proper drainage. Buying in bulk from a landscaping supplier is cost-effective. Apply the gravel in 2-inch layers, tamping and leveling each time.
Sandy Foundation: Cover the gravel with sand, following the same layering and tamping technique. Wet dry sand with a hose as you apply it to ensure even compaction.
Topsoil Finish: For the final layer, spread 6 inches of quality topsoil, using the same layering and tamping method as with sand and gravel.
Quality soil is essential for a thick and lush green. Note that this step is unnecessary if you’re using artificial turf; in that case, a 12-inch bed and the omission of topsoil suffice.
4. Ensuring Adequate Drainage
Before putting the finishing touches on your putting green masterpiece, it’s crucial to address one last key factor: drainage.
After all, a smooth, pristine green won’t be of much use if it’s constantly submerged under half an inch of rainwater (here’s how to soak up excess water in yard).
Before you lay down the carpeting or turf, carve out a trench beneath your green that runs through the center, with drainage outlets on each side.
This trench should be filled with gravel and rocks and designed with a slope to ensure effective water runoff, keeping the putting surface dry and clear.
As we emphasized earlier, it’s essential to ensure that your entire installation is lined with gravel. If you need a refresher, revisit Step 3 to ensure you’re on track.
And, as always, when in doubt, seek advice from a trusted landscaper. They can offer specific guidance that might save you a bundle compared to a full installation, especially if you have a good working relationship.
5. Adding Carpeting Or Turf

With your groundwork meticulously laid out and prepped, it’s time to bring your vision to life by installing the new surface. Whether you opt for carpeting or turf, proper installation is key.
We’ve already covered the pros and cons of carpeting versus artificial turf, so we won’t delve into that again. However, regardless of your choice, a high-quality putting surface is a must.
As previously mentioned, the fringe area surrounding the green should measure at least 6 inches wide, if not 12 inches for optimal drainage.
This zone can also help accommodate any uneven slopes around the edges, ensuring your green sits smoothly even on irregular terrain.
If you’ve meticulously placed your pavers, section by section, carefully ensuring they’re level, you shouldn’t encounter any significant issues at this stage.
It’s essential to ensure that the stone caps are lower than the green for 2 crucial reasons:
- The green itself may require a rubber lip or retainer, even if it’s artificial and doesn’t need watering.
- Proper drainage is vital. If the stone caps are higher than the green and the retaining wall is well-constructed, water can pool up after a heavy downpour, transforming your putting green into a muddy mess.
Assuming you’ve followed these recommendations, along with those from previous sections, you’re well-prepared to move on to the surface installation. To make sure you get this crucial step right, let’s go over a few key pointers.
How To Build A Putting Green With Real Grass
When it comes to planting, cover your grass seeds with hay before watering. These seeds tend to attract birds, and if the birds are after your seeds, your grass won’t stand much of a chance.
For bare grass areas, the requirements are straightforward. Regular aeration, using a weighted lawn roller, and employing a high-quality mower are all essential practices, as previously discussed.
If You’re Building An Artificial Green
Before you dive into building your artificial green, lay out the entire piece of Astroturf or outdoor carpet in front of you. Make sure it completely covers your target area.
Here’s why this step is crucial: It’s easy to overestimate space when you’re outside. To ensure you have more than enough material, consider estimating up to 10% extra in each dimension.
Now, anchoring an artificial green is essential, and you’ll need a variety of tools for this task. We recommend non-galvanized spikes that are at least 6 inches in length.
Anything shorter, and rough weather could send your garden liner and plants on an unintended adventure. The good news is that 6-inch spikes won’t break the bank.
Once you’ve securely tucked in the Astroturf, your job is complete. Artificial greens are virtually maintenance-free, so you can look forward to more time on the green and less time tending to it.
How To Build A Backyard Putting Green With Turf
When it comes to installing rolled natural turf, a little planning goes a long way. Just like with artificial turf, lay everything out before making any cuts. Most projects require more material than you initially anticipated.
Once you’ve measured out your space, use a chalk line to outline the dimensions. Then, cut the ground using a turf cutter. If you’re budget-conscious, a long razor knife can also do the job, but be ready to change blades frequently.
By the way, when working with turf, wearing knee pads is a smart move. It might not seem necessary during the job, but trust us, you’ll appreciate the decision the next day.
As you cut the bed, take your time for precision, favoring longer lengths over shorter ones to ensure you stay within your property lines.
6. Installing The Putting Hole
Now that you’ve tackled the groundwork, it’s time for the finishing touch – installing your putting hole.
Why limit yourself to just one hole? To perfect a variety of shots, consider creating several holes in your green.
Whether or not you need a pin depends on your setup. For most putting greens, a pin is unnecessary. However, if you have ample space and plan to chip or use iron before reaching your green, a pin can be a useful addition.
7. Backyard Putting Green Ideas
Just like a real golf course, the allure of a backyard putting green lies not only in the game but also in the outdoor ambiance it creates. So, why not enhance the experience with some thoughtful decoration?
The obvious choice is to introduce a garden chair or bench nearby, preferably under some shade. This provides a comfortable spot to rest during those hot summer sessions.
But don’t stop at the basics; let your creativity shine.
Consider adding a small pond or a sand trap to mimic the hazards you’d encounter on a professional golf course. These features not only add visual appeal but also provide opportunities to refine your short game.
Or, You Can Take a Shortcut…
If the thought of all this work seems daunting, fear not. Building a backyard putting green is a labor-intensive process that spans several days and often requires assistance from family and friends to get it just right.
However, there’s an alternative. You can opt to have a professional handle the job for you. Many companies offer this service.
Simply provide them with a photo of your location and the total square footage of your desired green, and they’ll send you an estimate that covers landscaping and installation costs.
In terms of ease, this is hard to beat. On the flip side, you’ll be spending more money, but you’ll also be spared the hours of hard labor.
FAQs – How To Make An Outdoor Putting Green
1. How much does it cost to build an outdoor putting green?
The cost of building an outdoor putting green can vary widely but typically ranges from a few thousand dollars to over ten thousand dollars.
2. How do you flatten the ground for a putting green?
Flattening the ground for a putting green involves grading and leveling the area, which can be done with heavy equipment or manually.
3. Is there a DIY backyard putting green kit?
Yes, there are DIY backyard putting green kits available that provide the materials and instructions for creating your own putting green.
4. Can I turn my backyard into a putting green?
Yes, with the right materials and effort, you can turn your backyard into a putting green.
Final Thoughts: How To Build A Putting Green In Your Backyard
A backyard putting green offers numerous advantages. It brings golf practice closer to home, enhances convenience, and allows for weekend practice sessions.
Yet, it’s important to acknowledge that creating a backyard putting green can be a significant investment. However, if you’ve been wondering how to make a backyard putting green, we believe we’ve provided you with the guidance you need.
We hope this comprehensive guide has been helpful in bringing your dream of putting green to life!
You may also be interested in checking out the article: How to find gold in your backyard.