Our comprehensive guide will lead you through the necessary steps on how to make a bonfire pit that suits your needs and ensures safety.
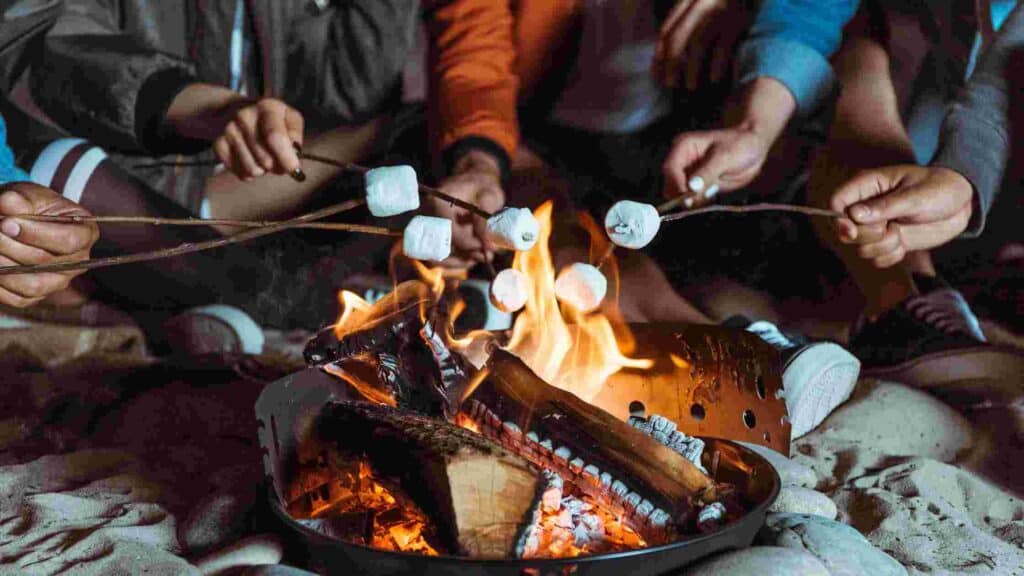
Experience the joy of summer nights gathered around a crackling fire in your backyard. Building your own bonfire pit is a rewarding DIY project that can be completed in a weekend, depending on the size and design complexity.
Let’s dive in and get started!
How To Make A Bonfire Pit
1. Checking Regulations And Safety Requirements
Before embarking on your bonfire pit journey, it’s essential to address any potential legal and safety considerations.
Here’s what you should do:
Contact your city’s authorities and fire department to familiarize yourself with any regulations regarding recreational backyard bonfires. Some areas may have restrictions or permit requirements (you may also be interested in: Can you have a fire in your backyard?).
Additionally, reach out to your homeowners’ association for any specific guidelines. To prevent accidents, don’t forget to call 811, a free service, to identify utility lines on your property.
2. Selecting The Perfect Location
Choosing the ideal location for your bonfire pit is crucial for both safety and enjoyment. Consider the following factors:
Ensure an appropriate distance between your bonfire pit and your house, as well as any flammable structures, fencing, or playsets.
Look up to check for low-hanging branches or power lines that could pose a hazard. Additionally, consider the overall landscape design and how the bonfire pit will fit into the existing layout.
For more information, check out how far should a fire pit be from a house.
3. Budget And Design Options
Customize your bonfire pit based on your preferences and intended usage. Here are some points to consider:
For a cost-effective solution, a simple rectangular or circular design can be constructed for under $50.
You can choose to build from scratch or utilize a kit. Also, think about incorporating a patio area around the pit to enhance its visual appeal.
Determine the frequency of use and whether you’ll be using it for cooking or other activities (check out the best fire pit cooking grates). The size of the pit is important, with a diameter of around 3 feet providing ample space for you and your family.
4. Tools, Materials, And Supplies
To complete your bonfire pit project, gather the necessary tools and supplies. Here’s a list of items you’ll need:
Essential Tools
- Tape measure
- Shovel
- Mallet
- Level
- Trowel (optional)
- Work gloves
Materials And Supplies
You’ll also require a construction adhesive, tamper, bricks for the structure, pea gravel or paver’s sand, and a ready-to-use fire pit kit if preferred.
Fire pit kits offer the advantage of being suitable for existing patios or fireproof surfaces. Trapezoid-shaped pavers are recommended for a round pit, while rectangular ones work well for a square design.
Plan for three to four levels of bricks based on their height, providing a contained space for the fire and a platform for delightful marshmallow roasting.
5. Prepare The Site
Before you begin digging, take the time to measure and mark out the dimensions of your bonfire pit. You’ll want to dig down about 4-5 inches into the ground.
If you’re creating a round pit, use a stake placed in the center and attach a length of string to draw a perfect circle.
Keep in mind that the shape of the bricks will reduce the interior space, so measure the diameter if you’re using a kit or bowl insert.
6. Create The Base
There are a couple of options for creating a fireproof base, which will also determine the materials you’ll need. Here are the recommended methods:
- Lay pea gravel in the hole, dampen it with a hose and compact it using a tamper.
- Alternatively, lay pavers directly on the ground and fill the gaps with paver sand.
Either method will provide a level base for placing the bricks.
7. Lay The First Level
Begin by placing the first level of bricks in the desired shape. Regularly check for levelness and use a mallet to adjust the height of any bricks that protrude too far.
Ensure a snug fit between the bricks, allowing for small gaps to facilitate air circulation within the bonfire pit.
8. Continue With Additional Layers
Verify that the first level is level before proceeding with the next layer. For enhanced aesthetics and structural durability, consider staggering the starting point of each subsequent layer. Check and re-check for levelness to prevent the fire pit from toppling.
If using construction adhesive, lift each brick from the second layer and apply a small dab of adhesive on top of the fire pit blocks on the first level.
Repeat this process until all bricks are set. If preferred, you can also use mortar to strengthen the structure, following the instructions on the package and using a trowel to level each brick.
9. Insert The Bowl (Optional)
If you’re using a bowl insert, ensure that it fits securely, distributing the weight evenly along the edges of the bonfire pit.
10. Sand Fill (Optional)
If you’ve placed a ready-to-use fire pit on an existing patio, add approximately 4 inches of sand to the bottom. This will provide a fireproof base and facilitate extinguishing the fire at the end of the night.
11. Let It Set
Allow a day for the adhesive or mortar to set before starting your first fire. Once this time has passed, your bonfire pit is ready to go!
FAQs – How To Make A Bonfire Pit
1. How do I build a fire pit in my backyard?
To build a fire pit in your backyard, you typically dig a hole, add a layer of gravel, surround it with stones or bricks, and ensure proper ventilation.
It’s important to follow local regulations, obtain any necessary permits, and consider safety precautions such as keeping a safe distance from structures.
2. How do you make a homemade fire pit area?
To create a homemade fire pit area, you can choose a suitable location, clear the area, and create a fireproof base using materials like gravel or pavers.
Construct a boundary using stones, bricks, or a metal ring to contain the fire. Consider safety measures and ensure proper ventilation.
3. What is the easiest DIY firepit under $50?
The easiest DIY fire pit often involves using a metal fire pit ring placed directly on the ground. You can simply clear the area, place the ring, and add firewood or other fuel to create a fire.
4. How to build a smokeless fire pit?
Building a smokeless fire pit typically involves using a design that incorporates proper airflow and efficient combustion.
Designs such as a smokeless fire ring or a gas-powered fire pit with adjustable burners can help reduce smoke production (find out how to light a gas fire pit).
Follow specific instructions or consult resources that specialize in smokeless fire pit designs.
5. What is the purpose of a metal fire pit ring?
The purpose of a metal fire pit ring is to serve as a containment barrier for the fire. It helps keep the fire contained within a specific area, preventing it from spreading and providing a designated space for the fire. The metal ring also adds a decorative element and can help protect the surrounding ground from heat damage.
Conclusion: How Do You Build A Fire Pit For A Bonfire?
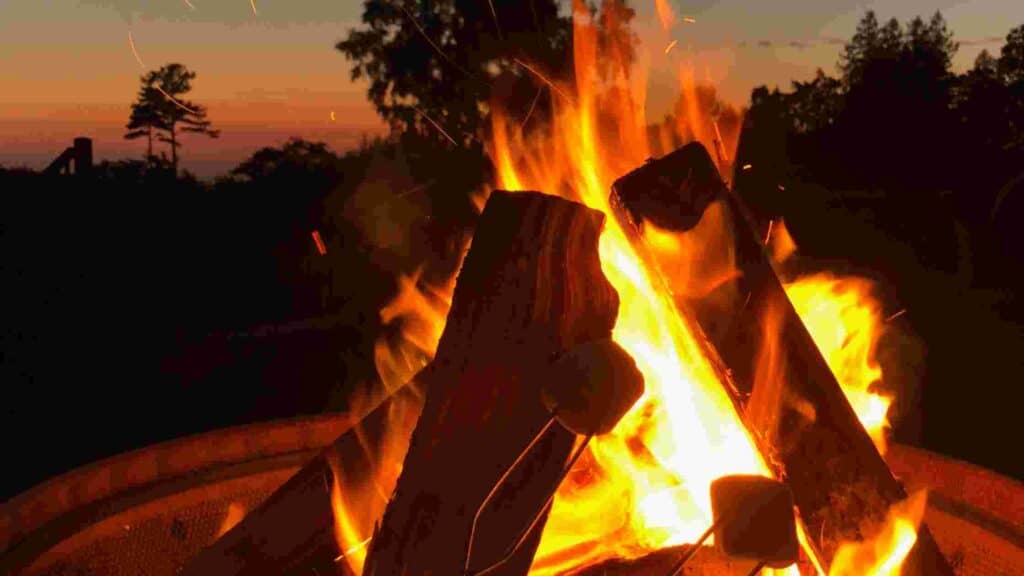
Having a fire pit in your backyard is the perfect way to unwind and create a relaxing ambiance. The mesmerizing dance of the flames adds a touch of magic to any evening.
Fortunately, building a bonfire pit is an easy and affordable DIY project suitable for beginners.
With proper pre-planning and a focus on achieving a level foundation, you’ll soon be enjoying delightful evenings around your very own backyard bonfire pit.