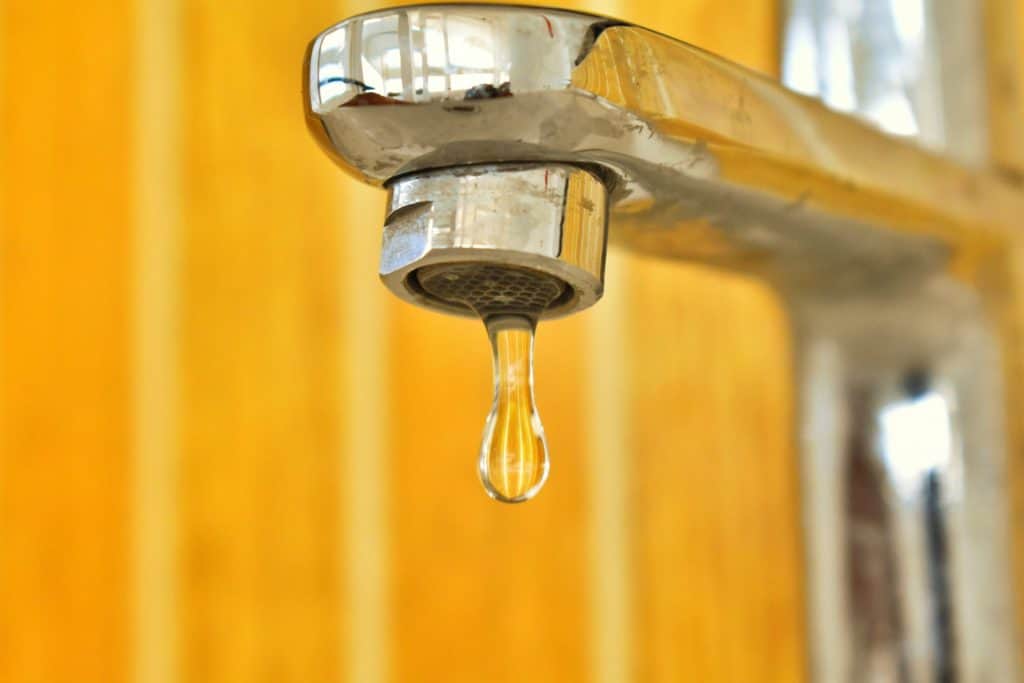
What is more annoying, a leaky bathroom faucet or a leaky kitchen faucet?
The upsetting feeling of a leaky faucet water bill or the ugly bands of leaky faucet drips on your wall décor? How much does a leaky faucet cost?
Well, if you consider the increased water bill spending, it costs much more than any premium leaky faucet repair kit.
Enough with the leaky faucets and the drips bands: Let us explore how to fix leaky faucets.
Preparing How To Fix Leaky Faucets
- Use masking tape to pad the jaws of your wrench so that it does not scratch the fixtures.
- Get some distilled white vinegar to scrub out layers of mineral formations under the faucets. Apply the vinegar on a soft scouring pad to avoid scratching.
- Close all taps to prevent running water and drain all the sink water.
- Seal off the sink underside and pad the floor with a rug to prevent falling parts from bouncing too far.
- Make a special space for arranging the faucet parts when you dismantle it strategically.
Before you begin, there are a few things you need to understand about what causes a dripping faucet. You need to know the different types and how differently they function.
Types Of Faucets
Faucet manufacturers produce four types of faucets:
- Compression
- Ball-Type
- Cartridge/ Sleeve
- Ceramic Disk
How To Fix A Leaking Compression Faucet
This type of faucet is different from the other three because it seals the valve seat with the support of rubber washers which are susceptible to wear out over time.
Compression faucets require the most maintenance and the highest replacing rate compared to the other three.
Most of the time, you would need to replace worn-out rubber washers when inspecting how to repair faucet leak.
Start by taking the faucet apart from the decorative cap, the handle screw, and the handle to the packing nut.
You will need the crescent wrench, which you insulated with duct tape at the jaws, to swivel the packing nut out.
You can access the damaged rubber washer and replace it after removing the nut. After replacing the worn-out washer, use the high-quality and poison-free grease that plumbers use to insulate the washers from heat.
You must replace the O-ring if the faucet was leaking at the handle. To do that, you should start by popping out the stem of the packing nut.
You can’t just replace it with any random O-ring because they vary in size. Therefore, you must first make sure that you have the right fit for your faucet.
For heat insulation, use the same plumbers’ oil that you applied on the new washers before locking the new O-ring into its place. Then carefully reassemble the faucet and make sure that you fasten all the joint types.
Test the faucet to see if you successfully fixed the irksome leaking. If the leaking persists, the valve seat could be damaged or worn out.
Proceed by first deconstructing the faucet again just to access the valve seat via an apparatus that is technically referred to as a valve-seat dresser. The tool will grind the valve finely to eliminate any pitting.
Fixing Ball-Type Faucet Leaking At Handle
You must be very careful with this one as you take it apart strategically and remember what goes where.
Ball-type faucets are assembled from many parts. You do not need to identify the specific leaking part because that can be very time-consuming.
It would be much easier if you just opted to buy replacement kits. They are largely inexpensive.
Taking it apart includes removing the set screw holding the handle in place. Then pry the collar and cap off before lifting the faucet cam, its washer, and the rotating ball that pivots the faucet.
To reach the O-ring and cut them off, you must first take out the seals and springs. You will need special tools for this phase, and you can get all of them in faucet replacement kits.
Reconstruct the faucet by replacing every part with spares one at a time. Start by insulating the new O-ring with the plumbers’ grease before placing it.
Follow up by adding new inlet seals and springs and just retrace your steps by replacing everything in chronological order.
How to Replace a Faucet Cartridge
- Remove the handle’s decorative cap.
- Screw off the handle, tilt it back and pull it out.
- Remove the threaded retaining clip to pull out the cartridge.
- Cut the O-rings out after getting the spout out of your way.
- Insulate new O-rings with plumbers’ heat-insulating grease and replace worn-out O-rings.
- Replace any of the other faulty parts as you reassemble the faucet back to proper functioning.
- Replace it from the base if you find that you still have a leaky faucet after replacing the cartridge.
For any replacement of the parts that you identify to be faulty, make sure that they are all compatible with the faucet specifications.
How To Stop A Ceramic Disk Type Leak
- Remove the handle by pushing it backward and screwing it off.
- Uncap it and remove the disk cylinder by unscrewing it.
- Remove the seals from the cylinder by using any blunt-pointed tool.
- Wash the openings of the cylinder with white vinegar and a soft scouring pad.
- Replace any faulty parts, especially the seals.
- Reassemble the whole thing and screw joints tightly.
- Test by turning the water on slowly to avoid damage from intense water pressure.
Conclusion
Washers and other faulty spare parts are always to blame for the leaky faucet handle and the mess it causes in your kitchen sinks, bathtubs, sprayers, showers, etc. resulting in inflated water bills.
Fixing such problems require specialized equipment and skills. The information above is enough to help you get started on how to fix leaky faucets, however, consider reaching out to an experienced professional for more complex issues.