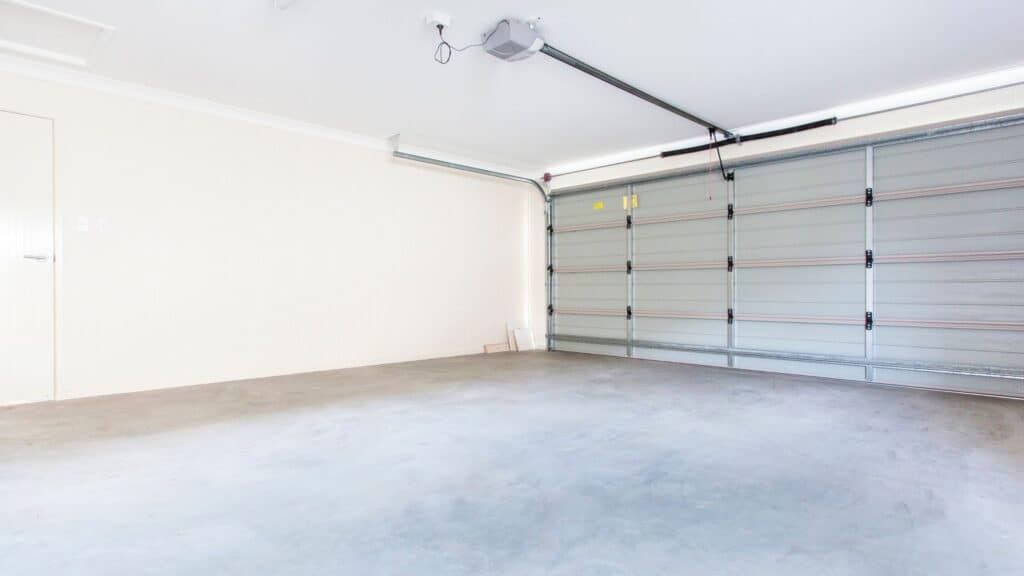
In this guide, we will discuss the benefits of epoxy garage floor coating, and walk you through the process of coating your garage floor with epoxy resin.
Are you tired of your boring, stained, and cracked garage floor? Resin flooring might just be the solution you are looking for. Epoxy resin is a durable and attractive coating that can transform your garage floor into a seamless, glossy, and easy-to-clean surface.
Resin Flooring – Why Epoxy Garage Floor?
Covering the garage floor with 2k epoxy improves the appearance of the garage. Because of the chemicals used, 2k coatings, in particular, provide practical and non-slip qualities. The coating can also provide long-term floor protection.
This defense can comprise a variety of chemicals, oils, liquids, road salt, and gasoline. As a result, you will have a gorgeous and easy-care surface for your vehicle for a long time. In conclusion, 2k epoxy has various advantages as a garage floor coating:
Epoxy Flooring Advantages
- Easy to clean
- Quick and easy to apply
- Protection against tires
- Protection against liquids (gasoline, oil, chemicals, liquids, and road salt condensation)
- Very resistant
- Without wear
- Without joints
The lengthy drying phase and time-consuming application method can be detrimental. Also, covering the entire garage floor with epoxy isn’t always a good idea. But, after the coating is applied, your garage floor will be a low-maintenance, long-lasting foundation for your vehicle.
Materials Needed To Create An Epoxy Garage Floor

1. Repairing Damaged Areas
Any broken earth must be rectified so that the subsoil is nice and even. This can be accomplished with a specific repair mortar.
2. Priming The Substrate
When working with absorbent subfloors like concrete, it is critical to prime the floor first to prevent the epoxy from sinking in and requiring numerous coats.
3. Floor Coating With 2k Epoxy/Concrete Paint – Garage Floor Coating Test
The most significant component is a specific epoxy resin created for garage floor coating. The material’s quality is critical; do not save money by purchasing a low-grade epoxy resin; this is critical for a good floor.
4. Epoxy Resin Paints, Decorative Flakes, and Glass Granules
To color the resin, choose an appropriate color. Color accents can be added with colorful bows scattered into the still-moisturized resin. Glass granulate is especially well-suited for making the substrate non-slip.
5. Tools
A big scraper and a lint-free coating roller make it easier to apply epoxy. Following the spreading process, a vent roller is used to roll over the entire surface again, allowing any trapped air bubbles to escape and level the surface. Ideally, larger amounts of epoxy and hardener should be mixed in a large container. A strong drill equipped with a stirring gear is ideal for this task.
6. Safety At Work
Basic safety precautions should be taken when dealing with epoxy to avoid compromising your health. This includes wearing nitrile gloves and wearing safety eyewear. Using a breathing mask with a sufficient filter is also recommended to prevent vapor escapes.
Steps To Epoxy Garage Floor
It is vital to have instructions on hand to ensure the success of your epoxy garage floor treatment. Generally, you should only use as much epoxy as you require. No more lingering after the resin has adhered to the hardener! If you don’t apply the coating quickly enough, the resin will set before you finish the work.
Step 1: Check The Garage Floor For Moisture And Oil Stains
Because of the damage to the floor, the coating cannot be applied completely smoothly. The garage floor must be completely exposed for the epoxy coating to operate. Simultaneously, oil stains and moisture must be discovered before any repair can begin.
Porous areas in the concrete pose a threat to the floor finish. Examine the floor with a hammer and steel brush to see if any components have fallen loose. In this instance, it is recommended that you sand the garage floor before recoating it. In the event of substantial damage, it is usually preferable to replace the entire concrete before applying the epoxy.
Step 2: Cleaning The Garage Floor
Inspecting the garage floor frequently reveals flaws. Dirt, dust, and oil stains in the garage can accumulate. The garage floor must be cleaned afterward in order for the coating to cure properly. A squeegee can be used to clean the floor. This is useful for removing tough dirt and hardened paint stains. Following that, a vacuum cleaner can help eliminate dust and grime. Make sure you use a proper oil stain remover to remove any oil stains.
Finally, during this stage, it is recommended that you use a hose or pressure washer to remove any remaining dirt from the garage floor. If you see dirt in the garage, you can use a concrete floor cleaner to clean it.
Step 3: Prime The Garage Floor

As a garage floor finish, epoxy may require a primer. This primer is especially important when working with a substrate that is highly absorbent. This method ensures that the coating’s substrate is waterproof.
How long does epoxy garage floor take to dry?
Spread the base coat on the floor using a paint roller, just like you would when painting. Make sure the strips you’re using don’t overlap. Wait a minimum of 12 hours and a maximum of 48 hours after applying the primer. This is the amount of time required for the primer to dry.
Priming the garage floor can be tough, especially in the summer. Warm air has a higher moisture content than cold air. The garage floor temperature is roughly 15 °C, which can lead to condensation. The issue is that once the primer dries, the condensed water might leave ugly stains. A temperature of 16 to 23 °C is advised to ensure that everything functions smoothly.
Note: The floor must be at least 10 °C warm for the work to be done cleanly.
Step 4: Mix The Epoxy Resin
Before you can apply epoxy resin, you must first mix it to your specifications. To do so, combine the epoxy resin’s two components (resin and hardener) in a 2:1 ratio. A stirrer aids in the mixing of the two components. Agitation is especially critical for ensuring that the mixture is homogenous and has a proper final strength.
It is advisable to wait 10 minutes after mixing the two components. During this period, the residual air in the mixture escapes. This prevents air bubbles from forming in the coating.
Step 5: Apply The Garage Floor Epoxy
Time is of the essence once the epoxy has been mixed. The resin often drips for two hours. At this point, you must have distributed the mixture across the garage floor to prevent it from solidifying before then. A stopwatch or timer on a mobile phone would suffice.
You can use a brush to apply the mixture to the corners. A short hair roller is best for the rest of the garage space. Like painting a wall, epoxy is applied in streaks. These strips should ideally overlap equally to form a uniform layer. After that, the coating must dry for 12 hours.
Step 6: Scattering Decorative Flakes Or Chips
Anyone who finds the standard epoxy resin layer on the floor too plain can use ornamental flakes or color flakes. These color accents will necessitate the use of gloves. Color particle dispersion occurs immediately upon application.
Take a few potato chips in your gloved hand and evenly distribute them on the floor. If you enjoy imagination and have an artistic flare, you can also arrange ornamental bows in a certain pattern. In addition to black and white, the trade provides a diverse range of color chips.
Step 7: After Bedding: Seal The floor
Is it necessary to seal the garage floor afterward? What is the purpose of a sealing layer? The extra sealing is very important if you have color splotches. Yet, without color accents in the coating, a sealing layer can be advantageous. Sharp edges can remain if the epoxy resin layer is not sealed. By sealing them, these can be softened or even totally smoothed out.
Note: A layer with an excessive shine may suggest that the coating was applied too thickly. In this instance, the epoxy resin or sealing compound must be applied to the floor over a larger area.
Step 8: Drying And Hardening
You must wait before you can utilize the garage floor for yourself and your vehicle. To be sturdy and durable, the coating must harden completely. An optimal temperature of 20°C is advised. Relative humidity of 65% completes the hardening process.
When will you be able to walk on the garage floor? After 24 hours, the coated floor is usually accessible. But be cautious! “Not passable” means “walkable.” A car is substantially heavier than a person. As a result, within one day, the floor covering can be toughened sufficiently for one person. This time frame is insufficient for a car.
Wait a week to ensure that the covering can sustain the weight of an automobile. A car can be taken to the garage after a maximum of seven days. It is preferable to wait 12 days. This time period necessitates considerable patience. Nonetheless, the wait is worthwhile. You risk ugly marks and uneven dents in the resin layer if you operate too quickly at this time and put too much force on the floor.
Final Step: Maintenance Of The Finished Epoxy Garage Floor – How Long Does Garage Epoxy Last?
Your garage floor coating is finished once you’ve completed the stages outlined above. Under normal conditions, the coating will last about 4 years. Following that, it is recommended that the coating be renewed. Meanwhile, the epoxy floor is simple to maintain.
Conclusion – Epoxy Garage Floor
Many processes are required to coat the garage floor with epoxy resin. These instructions have demonstrated how useful such a coating may be, as well as how it should be applied and worked on. The ease of maintenance and robustness of epoxy resin flooring is noticeable, especially in harsh winters.
The garage floor coating repels dirt and slush, is waterproof, and can be cleaned easily. A cleaning cloth or a pressure washer is all that is required. A beautiful and maybe colorful garage floor can be built with a little care, quickness, and patience.
